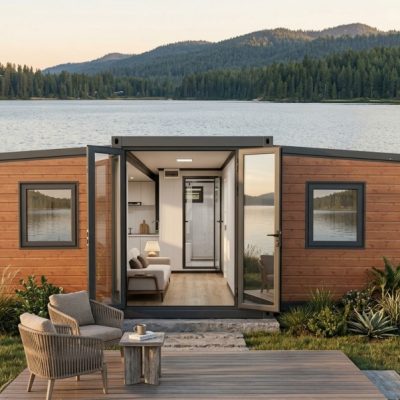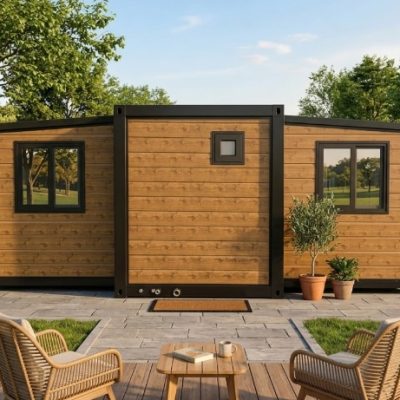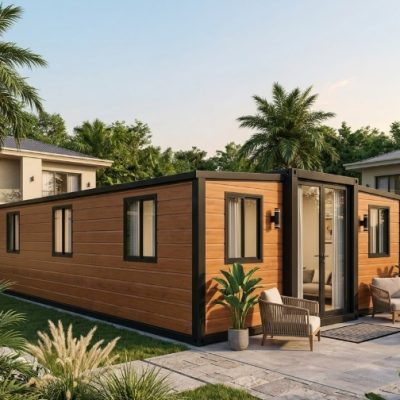

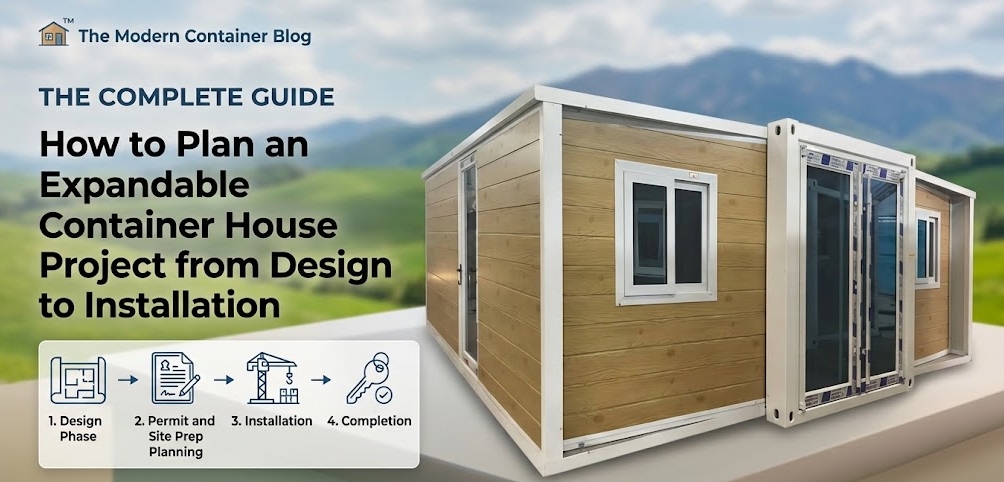
Deploying an expandable container building requires treating the purchase not merely as a product delivery, but as a complete structural project. While expandable systems offer rapid deployment and flexible spatial layouts, successful execution relies on early decisions regarding layout, engineering specifications, site accessibility, and logistics.
A project planned as a single connected workflow—from initial spatial requirements to final utility handovers—prevents scope drift, unexpected site modifications, and costly freight adjustments.
The Dual-State Concept: Transport vs. Installed Configuration
A defining characteristic of an expandable container house is its distinct physical profiles during transport and final placement:
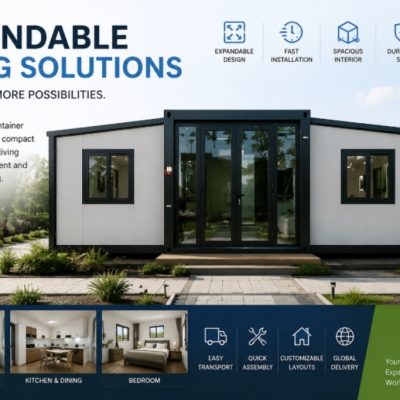
- Transport (Folded) State: The structural wings collapse into a central core unit, matching standard ocean shipping container footprints. Packed dimensions dictate vehicle selection, road clearance, and container loading strategy.
- Installed (Expanded) State: Once unfolded on site, side modules extend outward to double or triple the internal floor area. Expanded dimensions dictate final foundation size, utility connection points, roof pitch alignment, and site setback clearances.
The exact transport and expanded dimensions depend on the selected configuration and supplier specification. Decisions made regarding internal finishes, partition walls, and integrated fixtures directly affect both states.
13-Stage Project Planning Workflow
[1. Requirements] ➔ [2. Layout Plan] ➔ [3. Customization Scope] ➔ [4. Specifications]
        │
[8. Site Prep]    ◄─ [7. Site Check] ◄─ [6. Drawings Approval] ◄─ [5. Quote Scope]
        │
[9. Logistics]    ➔ [10. Unloading] ➔ [11. Installation] ➔ [12. Utilities] ➔ [13. Inspection]
Stage 1 — Define Project Requirements
Before requesting commercial proposals, establish the baseline operational parameters:
- Intended Application: Private residence, eco-resort unit, glamping retreat, site office, or semi-permanent staff accommodation.
- Volume and Scale: Number of units required (e.g., a single pilot cabin vs. a 2–6 unit boutique retreat).
- Occupancy & Layout Requirements: Target occupant capacity, number of bedrooms, bathroom counts, and dedicated kitchen or living zones.
- Operational Lifespan & Climate Zone: Expected duration on site, seasonal vs. year-round operation, and regional environmental loads (wind speed, snow load, coastal corrosion exposure).
For hospitality projects, incorporate operational flow into early planning, including guest circulation, housekeeping access, outdoor deck integration, and potential future site expansion.
Stage 2 — Plan Spatial Layout and Room Circulation
The internal layout dictates structural panel positions, factory sub-floor plumbing runs, and electrical wiring conduit locations.
+-------------------------------------------------------------+
|               EXPANDED WING (Bedroom / Living)             |
+------------------------------+------------------------------+
|                              |                              |
|   FIXED CENTRAL CORE         |     Integrated Bathroom      |
|   (Kitchen / Plumbing Hub)   |     & Utility Service Trunk  |
|                              |                              |
+------------------------------+------------------------------+
|               EXPANDED WING (Bedroom / Dining)             |
+-------------------------------------------------------------+
When evaluating floor plans:
- Position plumbing-heavy zones (kitchens, bathrooms) within or immediately adjacent to the structural core where factory connections reside.
- Verify window and door placement to ensure structural wall integrity while maximizing natural light and site vistas.
- Confirm that furniture arrangements do not impede the folding mechanism or block electrical access panels.
If architectural floor plans, CAD drawings, or 3D renders exist, provide these during preliminary project coordination to align spatial expectations early.
Stage 3 — Determine Customization Scope
Standard configurations offer predictable production schedules and established structural details. Customization must be evaluated against structural compatibility and transportation constraints.
- Standard Configuration: Factory-selected wall panel colors, standard window dimensions, fixed bathroom layouts, and default electrical layouts.
- Semi-Custom Configuration: Upgraded thermal insulation, custom exterior cladding textures, modified window package specifications, or altered electrical outlet placements.
- Major Customization: Structural wall removals, custom roof additions, modified unit dimensions, or non-standard floor framing adjustments.
Before committing to extensive customization, verify whether proposed alterations affect the transport folding envelope or structural load-bearing performance.
Stage 4 — Confirm Technical Specifications
Avoid reliance on high-level promotional summaries. Technical procurement requires written confirmation of material specifications:
| Component Category | Key Technical Parameters to Clarify |
|---|---|
| Structural Frame | Steel frame thickness, hot-dip galvanizing standards, paint finish, structural load ratings. |
| Wall & Roof Panels | Core insulation material (EPS, Rockwool, PU), panel thickness, outer skin steel gauge. |
| Flooring System | Sub-floor board material/thickness, water-resistant underlayment, final surface material (SPC, vinyl). |
| Glazing & Openings | Frame materials (aluminum, PVC), glass thickness, double-glazing specifications, thermal break features. |
| Electrical & Plumbing | Conformance to regional code standards, factory-installed wiring specs, pipe materials, distribution board layout. |
Stage 5 — Clarify Quotation Scope
Project budgets fail when factory supply quotes are mistaken for total project delivery costs. Ensure every proposal explicitly details included and excluded scopes:
- Building Core Scope: Primary frame, wall/roof panels, internal partitions, windows, doors, basic electrical fixtures, sanitaryware, and cabinetry.
- Project & Logistics Scope: Export packaging, internal transport to port, ocean shipping documentation, local port handling, and site delivery coordination.
- On-Site Scope (Typically Excluded from Building Supply): Civil foundations, local crane hire, site assembly labor, utility main hookups, external decking, and local engineering permits.
Compare supplier quotes based on total delivered and installed scope rather than headline building price alone.
Stage 6 — Review and Approve Drawings Before Production
Prior to manufacturing approval, review the detailed technical submittal package:
- Architectural floor plans with precise interior dimensions.
- Structural elevation drawings highlighting wall joinery and connection nodes.
- Electrical single-line diagrams showing circuit capacity, outlet locations, and main drop points.
- Plumbing schematic drawings confirming water supply entry and waste outlet points.
Resolving dimensional or operational conflicts on paper prevents costly structural rework after units arrive on site.
Stage 7 — Evaluate Site Conditions and Access Logistics
Site constraints frequently dictate whether an expandable container house can be successfully placed. Evaluate the delivery route and installation plot thoroughly:
- Access Road Limits: Bridge weight limits, overhead cable/tree branch clearances (minimum 4.5m recommended), narrow turns, and unpaved road conditions.
- Unloading Zone: Firm, level ground capable of supporting transport trucks and mobile cranes without sinking or tipping.
- Placement Plot: Topography, slope gradient, ground drainage patterns, and proximity to surrounding structures or trees.
Stage 8 — Execute Site Preparation and Foundation Engineering
An expandable container house requires stable, level support across all structural bearing points. Foundations must be engineered based on local soil bearing capacity and wind uplift requirements.
- Concrete Piers or Pads: Common for level to slightly sloped ground, providing elevation off the soil to maintain sub-floor ventilation and clear utility access.
- Strip or Continuous Footings: Ideal for softer soils or higher load configurations requiring continuous structural support under fold-out wall beams.
- Helical (Screw) Piles: Suitable for sloped terrain, sensitive environments, or temporary deployments requiring minimal ground disturbance.
Never place an expandable container unit directly onto uncompacted soil or uneven turf.
Stage 9 — Coordinate Transportation Logistics
Shipping expandable units involves multi-stage transport coordination:
Supplier Facility ➔ Port of Loading ➔ Ocean Transit ➔ Port of Discharge ➔ Local Flatbed Delivery ➔ Project Site
Verify that the logistics provider utilizes low-boy trailers or flatbed trucks equipped with twist-lock securing mechanisms matching container corner castings. Ensure transport dimensions conform strictly to local highway freight regulations to avoid special oversize transit permits where possible.
Stage 10 — Plan Unloading and Crane Placement
Unloading an expandable building requires appropriate rigging equipment and clear operational space:
- Lifting Equipment: Mobile hydraulic cranes or specialized heavy-duty forklifts rated for the unit’s gross transport weight.
- Rigging Gear: Spreader bars, certified lifting chains, and soft slings positioned strictly at designated corner casting lifting points.
- Safety Setbacks: Clear exclusion zones around the crane footprint, outrigger pads, and swinging radius during placement.
Lifting procedures must be supervised by qualified local rigging professionals.
Stage 11 — Structural Expansion and Assembly Sequence
Once positioned on the foundation, site crew members execute the structural unfolding sequence according to product-specific procedures:
- Leveling the Core: Verify that the main core frame is perfectly plumb and level using adjustable shims or foundation jacks.
- Unlocking Wings: Unbolt internal shipping transport locks securing the folded side walls and floor panels.
- Deploying Floors & Roofs: Lower side floor sections onto foundation support points, then raise and lock structural roof sections into position.
- Securing Exterior Walls: Swing outer wall panels into place, ensuring structural interlocks engage fully.
- Weather-Sealing Joints: Apply continuous commercial-grade weather seals, rubber gaskets, and flashing strips across all roof and wall expansion joints.
Stage 12 — Connect Utilities and On-Site Infrastructure
Differentiate clearly between building-internal systems and site-side infrastructure.
- Electrical Hookup: Connect site main power supply to the building distribution panel via certified local electricians. Verify grounding/earthing rod installation.
- Water Supply: Connect pressurized fresh water supply to the single main inlet point, verifying pressure-reducing valves are installed if site pressure exceeds building limits.
- Wastewater Connection: Tie internal blackwater and greywater drain outlets into local septic systems, municipal sewer mains, or holding tanks.
Stage 13 — Conduct Final Inspection and Handover
Execute a systematic walkthrough before signing off on project completion:
- [ ] Verify structural squareness and level across all expanded wings.
- [ ] Inspect weather seals, gaskets, and flashing for potential water ingress points.
- [ ] Test window and door latching, sliding mechanisms, and sealing efficiency.
- [ ] Pressure-test water lines and check all drain traps for leak-free operation.
- [ ] Verify operation of all electrical breakers, switches, lighting, and receptacles.
- [ ] Inspect interior surface finishes, wall joinery, and floor trims for transit damage.
Cost Planning Beyond the Supply Quote
A complete project budget accounts for all site-side and regulatory expenses outside the core building purchase:
TOTAL PROJECT BUDGET
│
├── 1. Building Supply Scope (Modules, Finishes, Fixtures)
├── 2. Freight & Logistics (Ocean Shipping, Port Handling, Last-Mile Delivery)
├── 3. Civil & Site Works (Ground Clearing, Foundations, Drainage)
├── 4. Installation & Crane (Equipment Rental, Assembly Crew)
└── 5. Permits & Professional Services (Engineering, Utility Connections, Local Fees)
By categorizing costs early, project owners avoid budgeting shortfalls prior to site delivery.
Navigating Local Regulations and Engineering Requirements
Expandable container houses must be evaluated as building projects rather than temporary equipment. Compliance requirements vary significantly by jurisdiction:
- Zoning & Land Use: Confirm whether modular or container-based structures are permitted on your land parcel for your intended application.
- Building Permits: Local authorities may require structural wind load calculations, thermal performance metrics (Energy Code compliance), and engineered foundation plans.
- Utility Connection Permits: Municipal connections often require stamped engineering drawings from locally licensed electrical and plumbing contractors.
Always verify regulatory expectations with local planning departments before confirming product orders.
10 Common Planning Mistakes to Avoid
- Selecting a building model before defining site access limits or land topography.
- Comparing supplier proposals based solely on unit price without auditing included scope.
- Approving custom layouts without reviewing structural submittal drawings.
- Failing to inspect narrow access roads, low overhead lines, or bridge weight limits.
- Ordering buildings prior to completing civil site preparation and foundation curing.
- Assuming building factory wiring automatically satisfies regional electrical codes.
- Budgeting only for module supply while ignoring crane, freight, and foundation costs.
- Requesting major structural alterations that compromise transport folding envelopes.
- Skipping weather-seal inspection on expanded roof joints prior to interior finishing.
- Treating modular project planning as a simple online retail purchase.
Buyer Information Checklist
To receive accurate project proposals, prepare the following details before submitting inquiries:
[ ] Project Location (City, Country / GPS Coordinates)
[ ] Intended Application (Resort, Private Cabin, Site Office, Rental)
[ ] Total Units Required & Target Delivery Timeline
[ ] Preferred Spatial Layout (Bedrooms, Bathrooms, Kitchen Configuration)
[ ] Site Conditions (Slope Gradient, Soil Type, Road Access Width)
[ ] Available Site Utilities (Grid Power, Well/Municipal Water, Septic/Sewer)
[ ] Available Site Files (Site Plan, CAD Drawings, Photos, Topo Maps)
[ ] Local Regulatory Constraints (Planning Zone, Permitting Requirements)
Essential Procurement Questions to Ask Suppliers
- What are the precise transport dimensions and expanded floor area specifications?
- Which specific structural, electrical, and plumbing items are included in the quoted price?
- What structural load ratings (wind, snow, seismic) apply to the standard system?
- What technical submittal package (floor plans, electrical schematics) is provided prior to production?
- What type of foundation configuration is recommended for this specific structural frame?
- How are roof expansion joints flashed and sealed against severe weather?
- What lifting points and crane rigging gear are required for safe site unloading?
- What factory quality inspection documentation is provided before shipment?
Key Takeaway
Planning an expandable container house project requires aligning spatial design, structural specifications, logistics, site civil works, and utility connections long before units leave the facility. Treating these stages as an interconnected workflow ensures predictable installation timelines, controlled project budgets, and high-performing modular assets.
Project Solutions Support with ModularHouseHub
ModularHouseHub serves as a specialized modular building supplier and project solutions provider. We assist private property owners, resort developers, and commercial buyers in navigating complex modular projects:
- Clarifying technical specifications and structural options.
- Aligning custom floor plans with transport and assembly constraints.
- Reviewing commercial scope proposals to prevent unexpected project costs.
- Coordinating logistics, delivery constraints, and site placement planning.
Contact our project team at www.modularhousehub.com to review your expandable container building requirements.
Frequently Asked Questions
What foundation type is best for an expandable container house?
Concrete piers, strip footings, or helical screw piles are common choices. Selection depends on local soil bearing capacity, slope gradient, site drainage, and local structural building codes.
How long does site installation take once the building arrives?
Unfolding and structural securing of a single unit typically takes a trained crew less than a day. However, complete utility hookups, internal trim work, weatherproofing, and decking integration usually take several days to complete.
Can expandable container houses withstand extreme climates?
System performance depends on wall panel insulation specifications (such as thick polyurethane or high-density rockwool cores), double-glazed thermal break windows, and properly sealed joints designed for regional climate loads.
Are expandable container units considered permanent or temporary structures?
Classification depends on local zoning definitions, foundation design, and utility attachment methods. Engineered foundations and hard-wired utilities often classify the building as permanent under local codes.